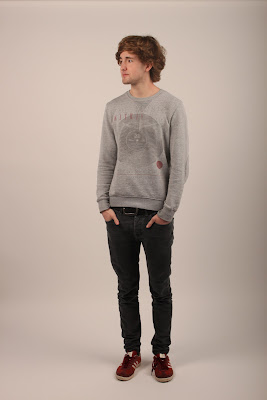
In my third photo shoot I took photos of my
model for my 2nd article. I wanted the images to be simple so I
didn’t include any props or outfits. I took several shots of my model stood up
and sat down, so that I had a variety of images to choose from. I used a even
lighting when taking my photos I did this by using several light boxes and a
DSLR camera. My model stood in the centre of the studio to make sure that the
lighting was even and he didn’t look too pale. I enjoyed doing the photo shoot
as I got a range of in focus images that would help my article.
I
manipulated my images by using Photoshop. I manipulated them so that they look
higher quality than if I just inserted them straight onto my article. My 2nd
article has got a white background and as the article has got a relaxed vibe I didn’t
want the images to have borders. I wanted the images to look free on the page. Also
I believe that they look much more professional with a white background. I
selected three images that I wanted to use in my article. I looked for the
lighting on each of the images and at the eyes to select the best three. I then
got rid of the background by selecting th e magic want tool on Photoshop and selecting
the area around my model, i held down the shift key until the entire background
was selected. I then chose the rubber tool and changed the brush sixe to large.
I then erased the background until it was all white. To make the images the
right colour I used the brightness and contrast tool to experiment with the
brightness of my model.


No comments:
Post a Comment